Lately I have been working on a lot of product photography for different clients. All have been around unique artist work but for commercial reason. On of the clients is James Dodson at Tasmanian Glassblowers. James is one of the last of a breed that creates purely in glass. His work ranges from tumblers to animals and very unique vases. Each item is crafted in his Breadalbane studio and is top quality.
A few weeks ago I spent the day photographing a lot of his work, Above is an action shot of Dry Ginger Ale being poured into one of his tumblers. While the rest of the brief was more about a pure looking shot, I couldn't help myself in creating one action shot.
You will be able to buy James work from My Emporium in the near future.
Big thanks to Matt from Within One Moment for being my assistant for the day.
BTS (Behind the Scenes)
When I get a brief for something a little different than my normal work, I like to practice and really know the ins and outs of the shoot. As glassware is notoriously hard to work with, I spent a night at home practicing.
The trick with working with reflective materials is not to use direct light. Create light sources from refractive light. In the photo to the right I am using one strobe to light the background, the sides are black to give a black edge to the image and the "roof" is white to light the front of the glass.
The reflections are created by perspex, either white or black depending on the look you are going for.
Late night practice
Practice example. Notice the black edges.
Shooting on Location
To make sure that our work on the day was a sharp as possible, I used Capture One software to tether the camera. This gave us the ability to review the images and make adjustments. We also used a remote trigger so we didn't need to handle the camera to reduce shake.
The issue with shooting on location is that dust, dirt and other things can become part of the shot. Unfortunately there isn't a huge amount that can be done about this apart from being a careful as possible but there will always be some work needed in Photoshop to clean up those pesky spots.
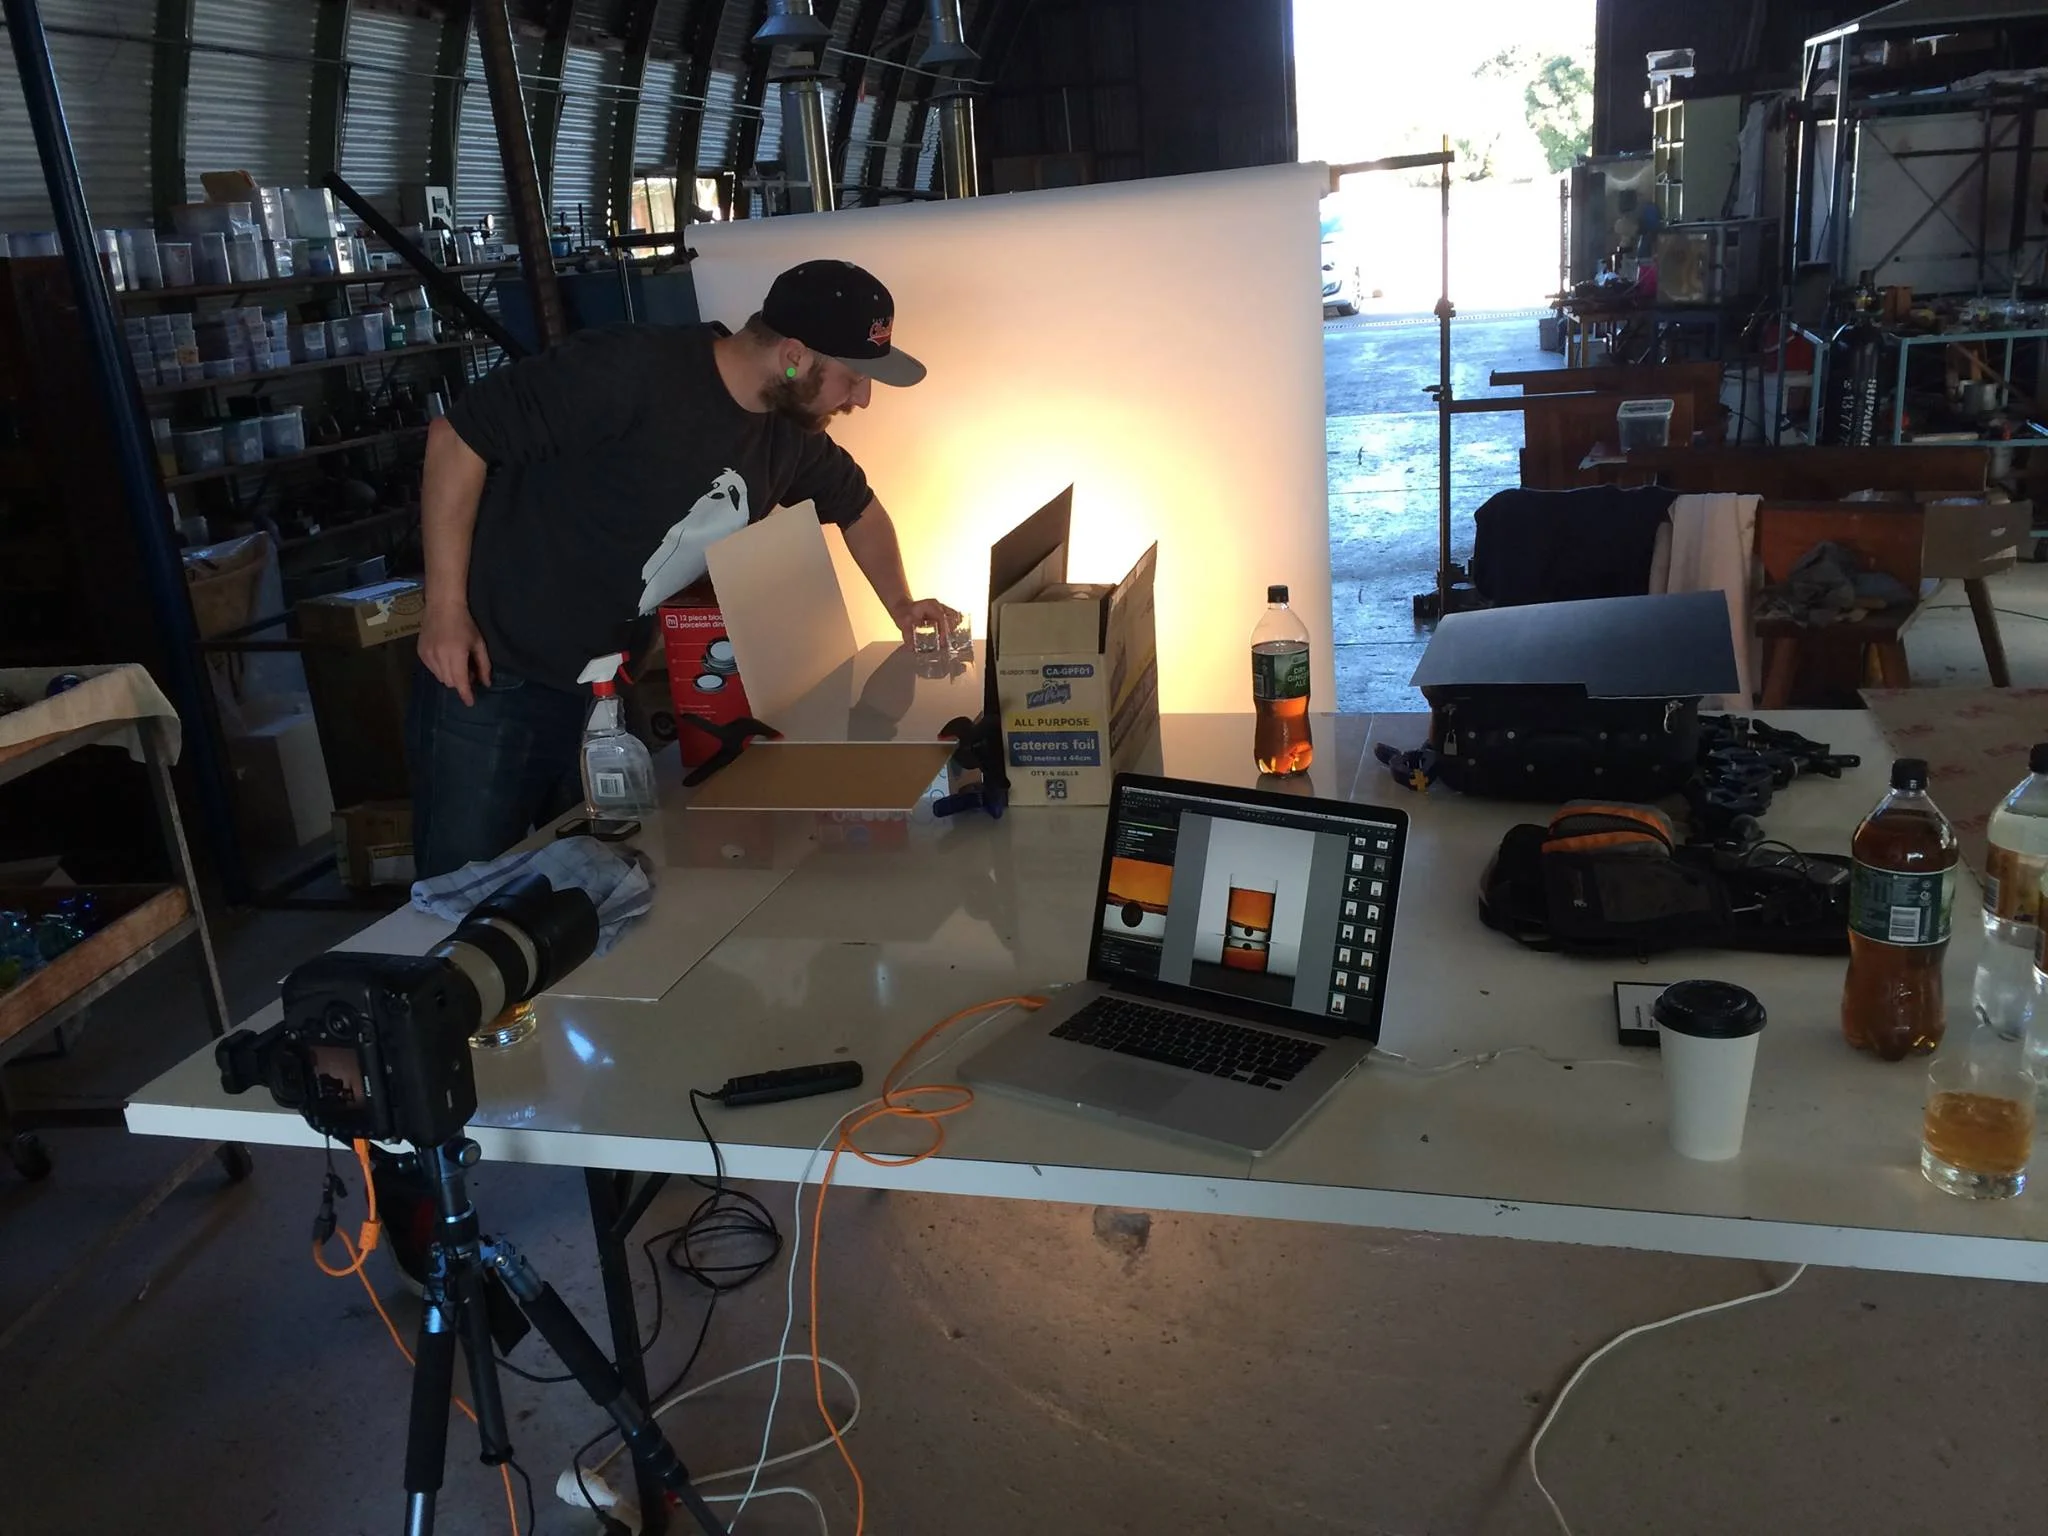
Matt placing a glass into the capture zone!
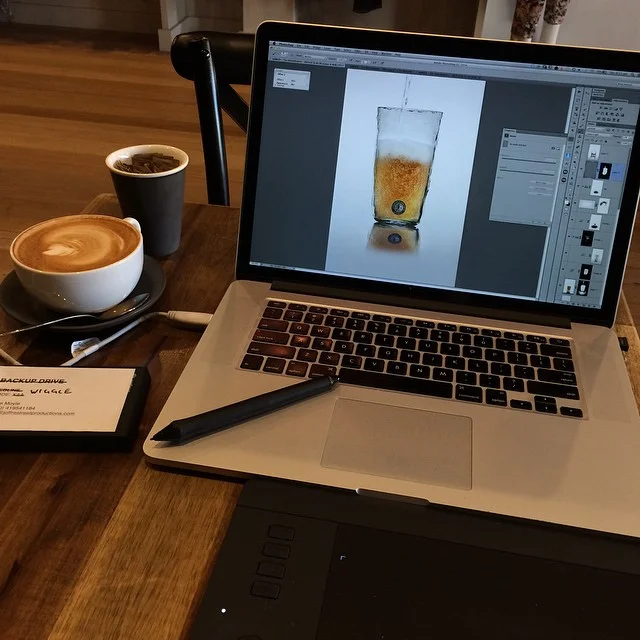
Editing requires lots of coffee!